Electrical circuits connected with the starter coil are extremely crucial as they assist in smooth starting and running of an engine. It is sort of like a switch that is turned on and off. The oil cools the engine, and the switch fires up a spark. This spark provides the energy that the engine needs to function. First, let's look at the starter motor solenoid wiring itself. All of these components have to be connected correctly for the engine to work properly and efficiently.
Make sure every thing is secure: Always ensure that your engine is off and your battery is disconnected before you begin working. This is a big deal because it prevents you from getting hurt, and it saves your engine from getting busted while you do your job.
Remove the cover: Now, on the starter coil, you need to carefully remove the cover on the starter to access wires and connectors. You can use a screwdriver or pliers to assist you with this. Be careful, so you don't break anything.
Attach the battery wires: This following step is about connecting the battery wires to the starter coil. Be sure to match the wires to the appropriate colors. This is very important so you don’t confuse them, as doing so can create serious problems for your engine.
Add a performance coil: Another upgrade option is adding a performance coil. It can provide the engine with more energy, which allows it to run better and smoother. Well, this coil can mean a lot in the way your engine runs.
Check the battery charge One of the first things to do is to check the battery charge. Insufficient coil flat wire battery energy may even prevent the engine from starting. If you're having trouble getting your car started, always check the battery first.
Inspect the wires: Examine the wires to determine if they show any signs of damage or wear. After that, characters on broken or frayed wires won't work properly and should be replaced. The wires can be damaged which can create problems for your engine.
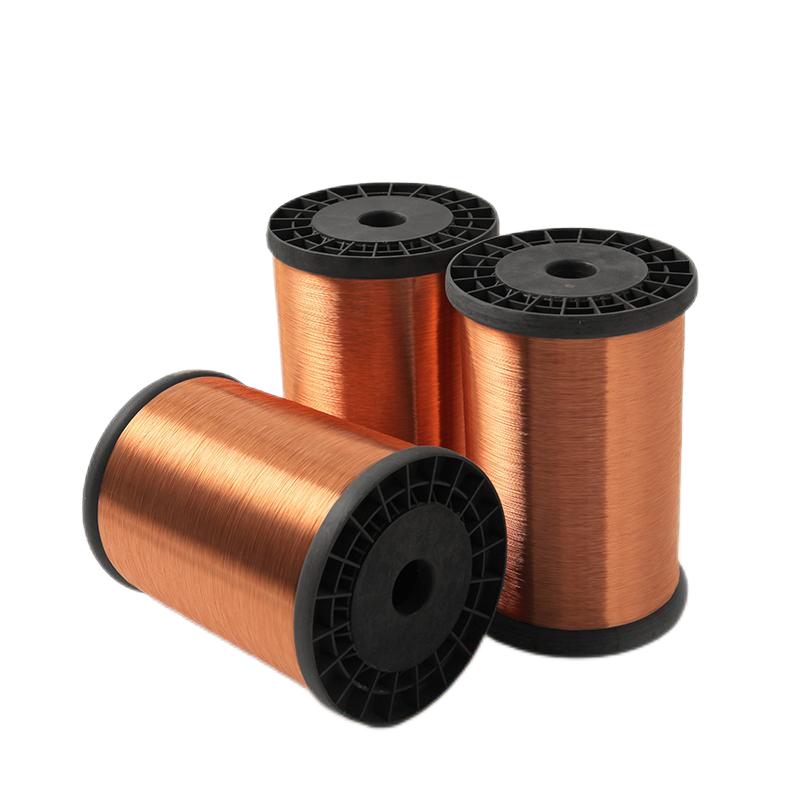
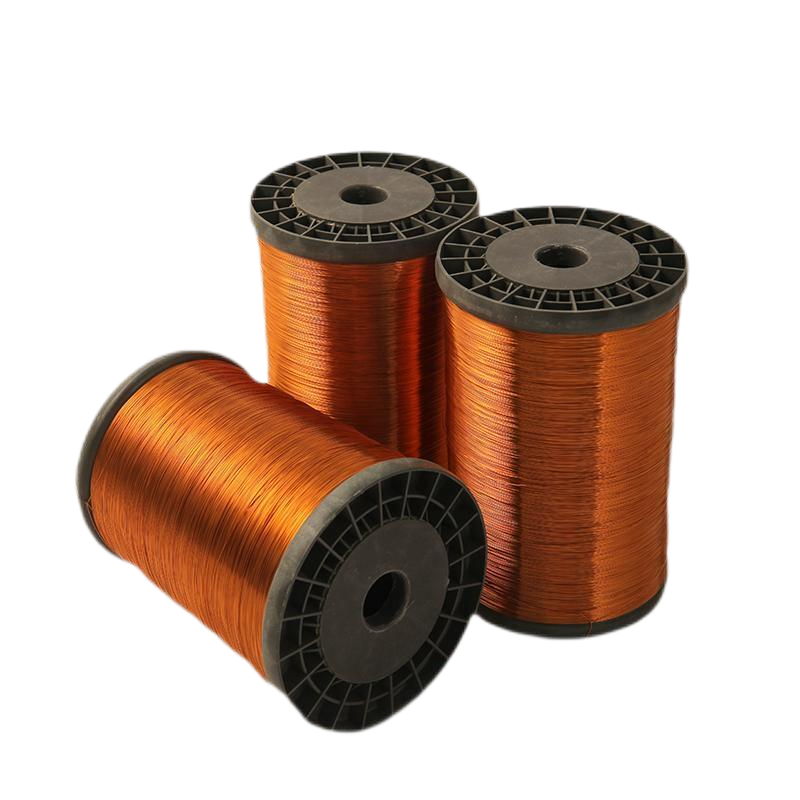
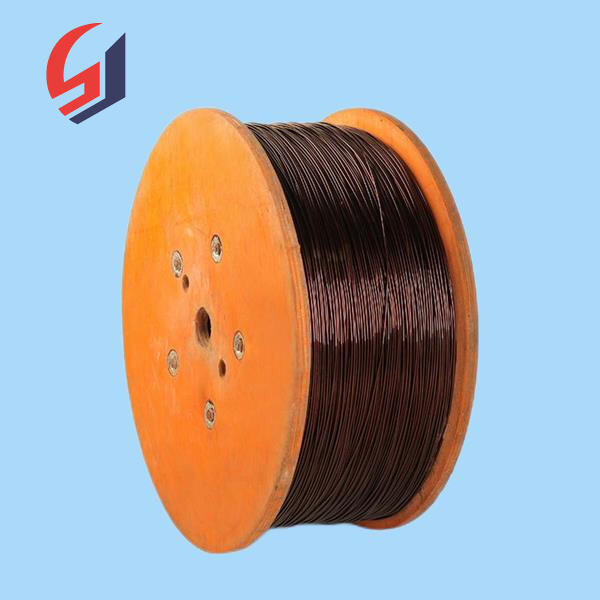
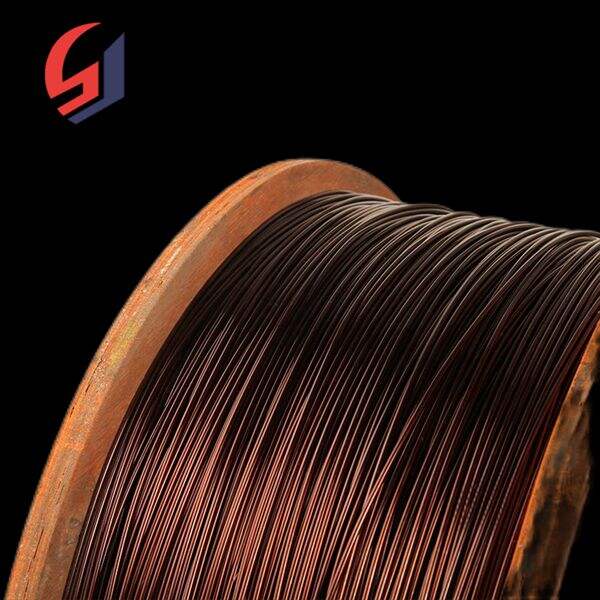
The quality of enameled copper is of paramount importance. The factory goes through numerous quality inspection stages to ensure the products are up to standards set by international standards and satisfy customer requirements. (1) Control of raw material Starting from pure copper through to top quality insulation varnish, the raw materials are thoroughly screened to ensure stability. 2) Whole-process monitoring. From wire drawing through to enameling, every stage of production goes through strict tests, including electrical performance, insulation voltage withstand, and tensile tests in order to ensure high-quality and reliability. To improve the trust of customers, quality factories are usually certified with ISO 9001 for their quality management system as well as UL safety certification.
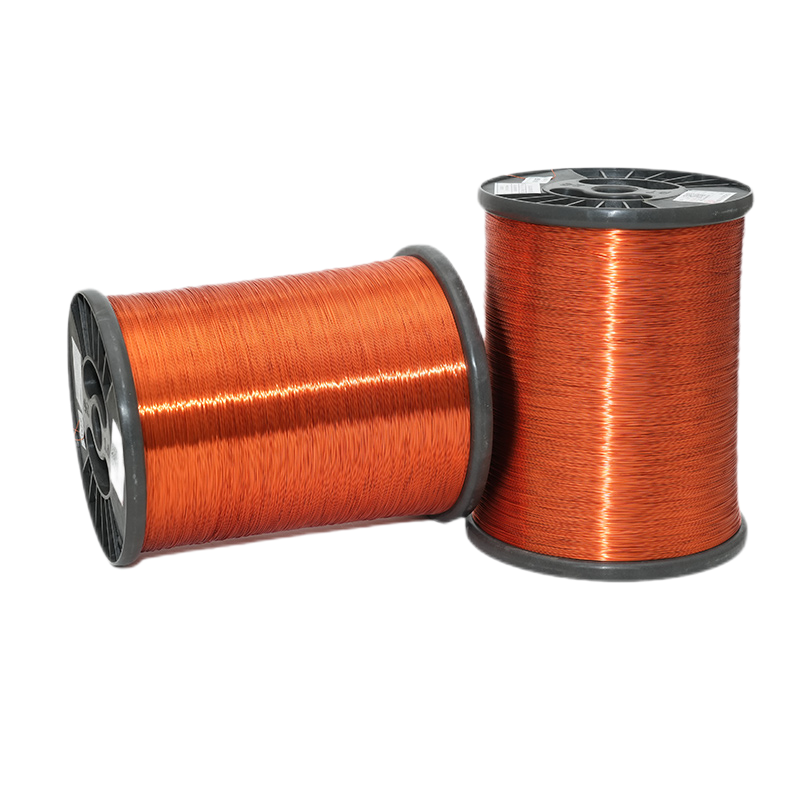
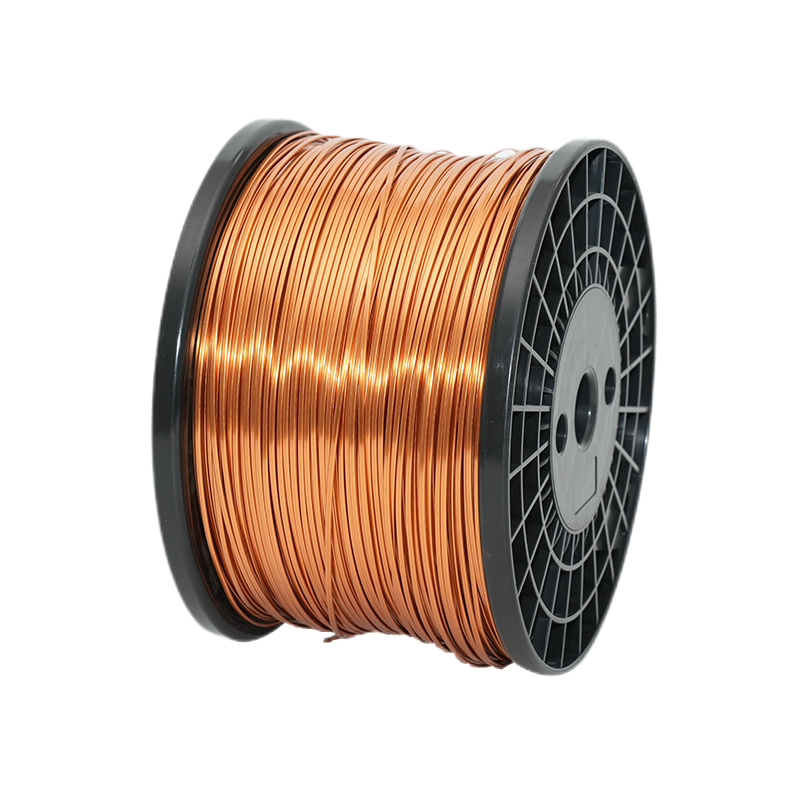
Copper wire factories that are enamel can produce high-quality products at cheaper prices due to their scale production capability. (1) Mass production: The factory is able to react quickly to the demands of large orders and at the same time ensure that the delivery time is on time. (2) Cost reduction through a more efficient production and optimizing equipment factories can cut down on consumption and increase the rate of output, thus reducing unit cost and giving customers more competitive cost.
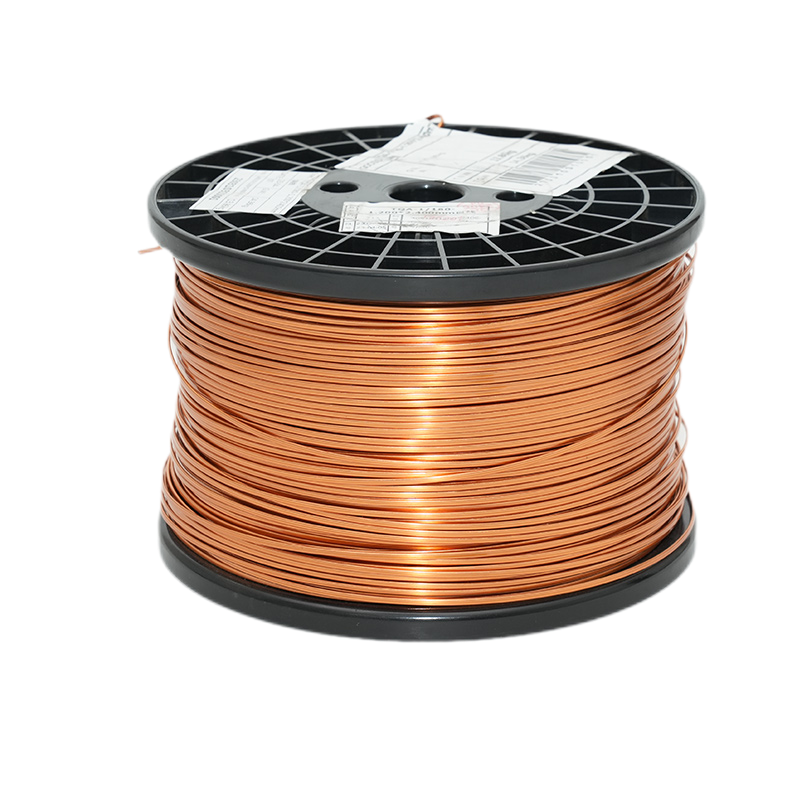
The latest production techniques and stringent quality control in our enameled-wire manufacturing facilities allow us to deliver products efficiently across the globe. We cooperate with our international logistics partners to create customized logistics solutions that satisfy the needs of our customers. Our global delivery network is able to cover important ports, ensuring that your products get to their destination promptly and safely. Furthermore our sales team provides online tracking services to keep customers updated on the progress of their shipment in real-time, increasing the transparency of supply chains and customer satisfaction.
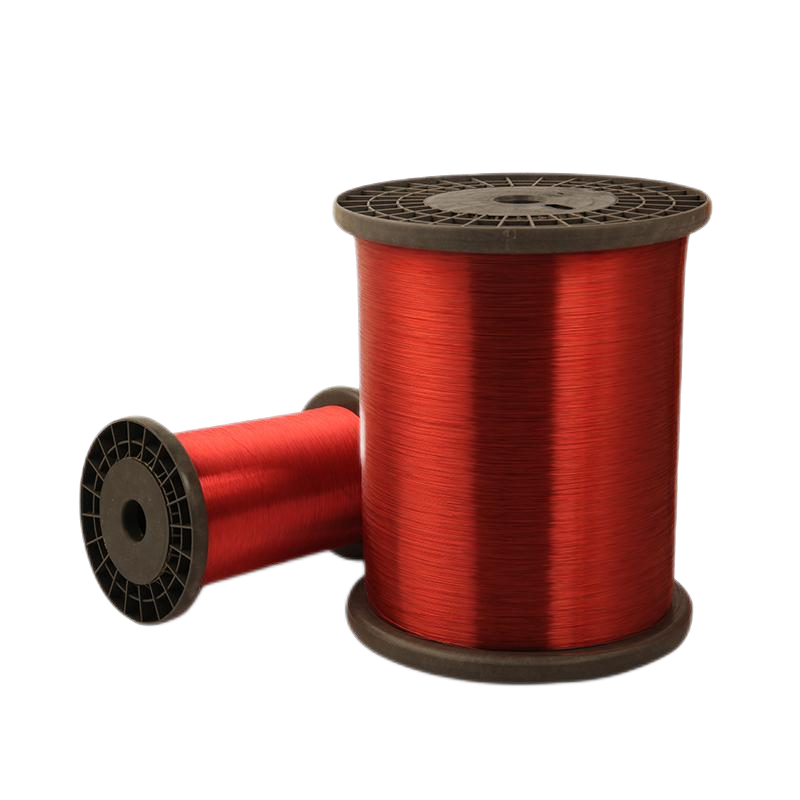
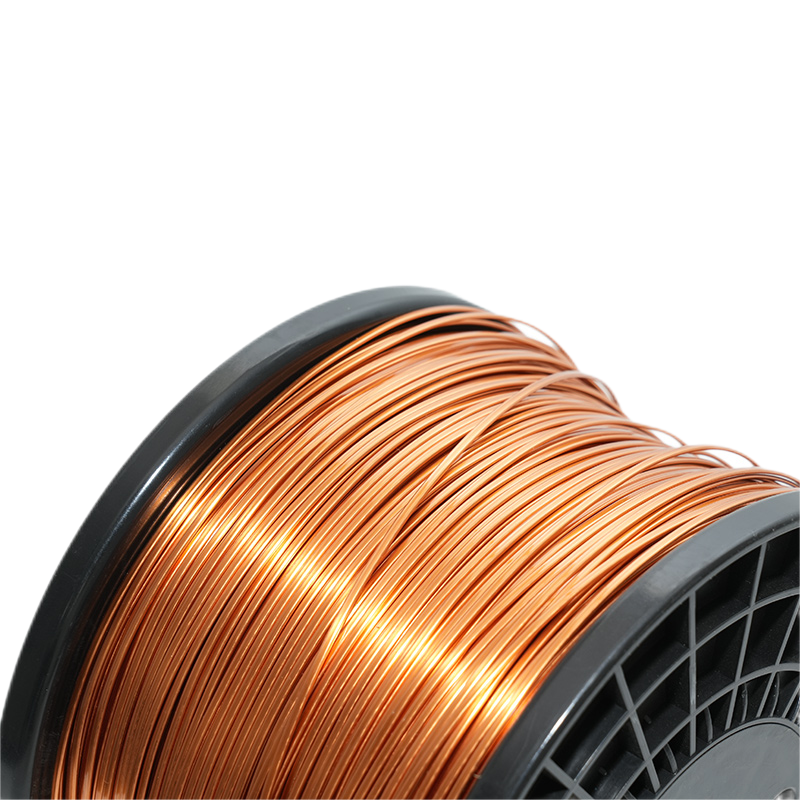
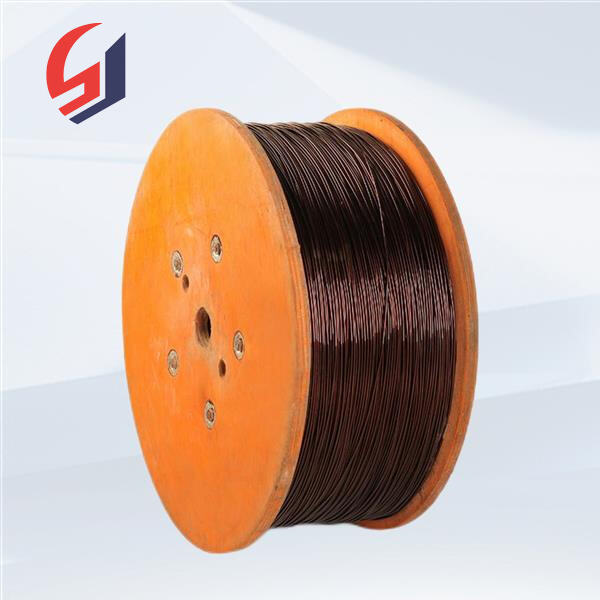
Our factory is able to customize products to meet the requirements of the customers. We also provide complete support after sales. Multiple specifications: Our factory is able to produce enameled wires that meet a broad variety of specifications, which include different diameters of wire, enamel thicknesses, temperatures, and insulation ratings to suit various situations.
Copyright © Yichun Shenyue Electrical Technology Co., Ltd All Rights Reserved
 SR
SR